Adding a Reservation - UV Legacy
- 07 Jun 2022
- 1 Minute to read
- Contributors

- Print
- DarkLight
- PDF
Adding a Reservation - UV Legacy
- Updated on 07 Jun 2022
- 1 Minute to read
- Contributors
- Print
- DarkLight
- PDF
Article summary
Did you find this summary helpful?
Thank you for your feedback!
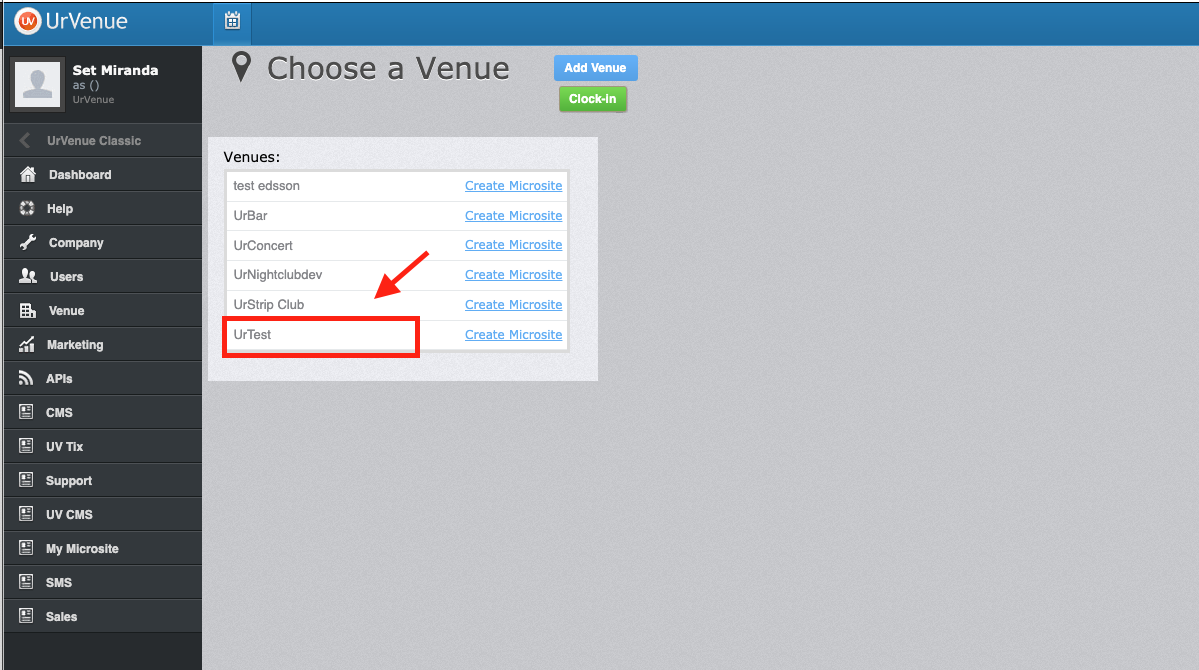
Click on the Venue that you are trying to make a reservation at.
Click on the day in the calendar that you would like to make a reservation for
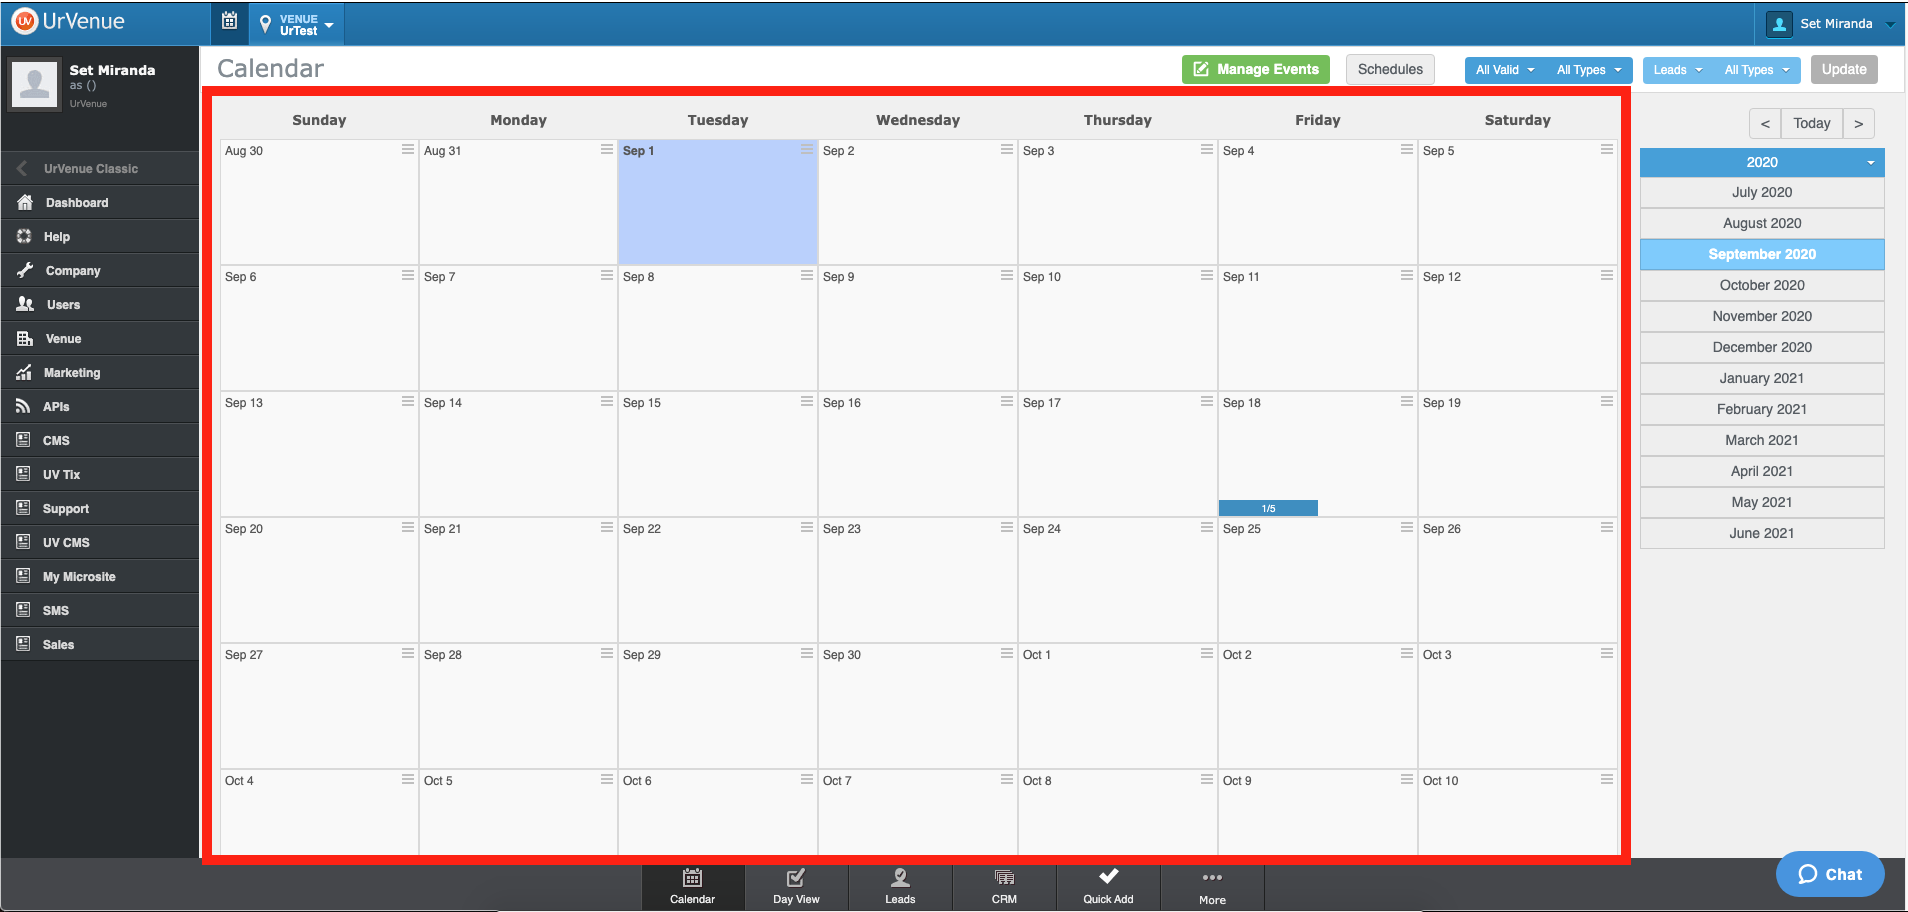
It should look like this:
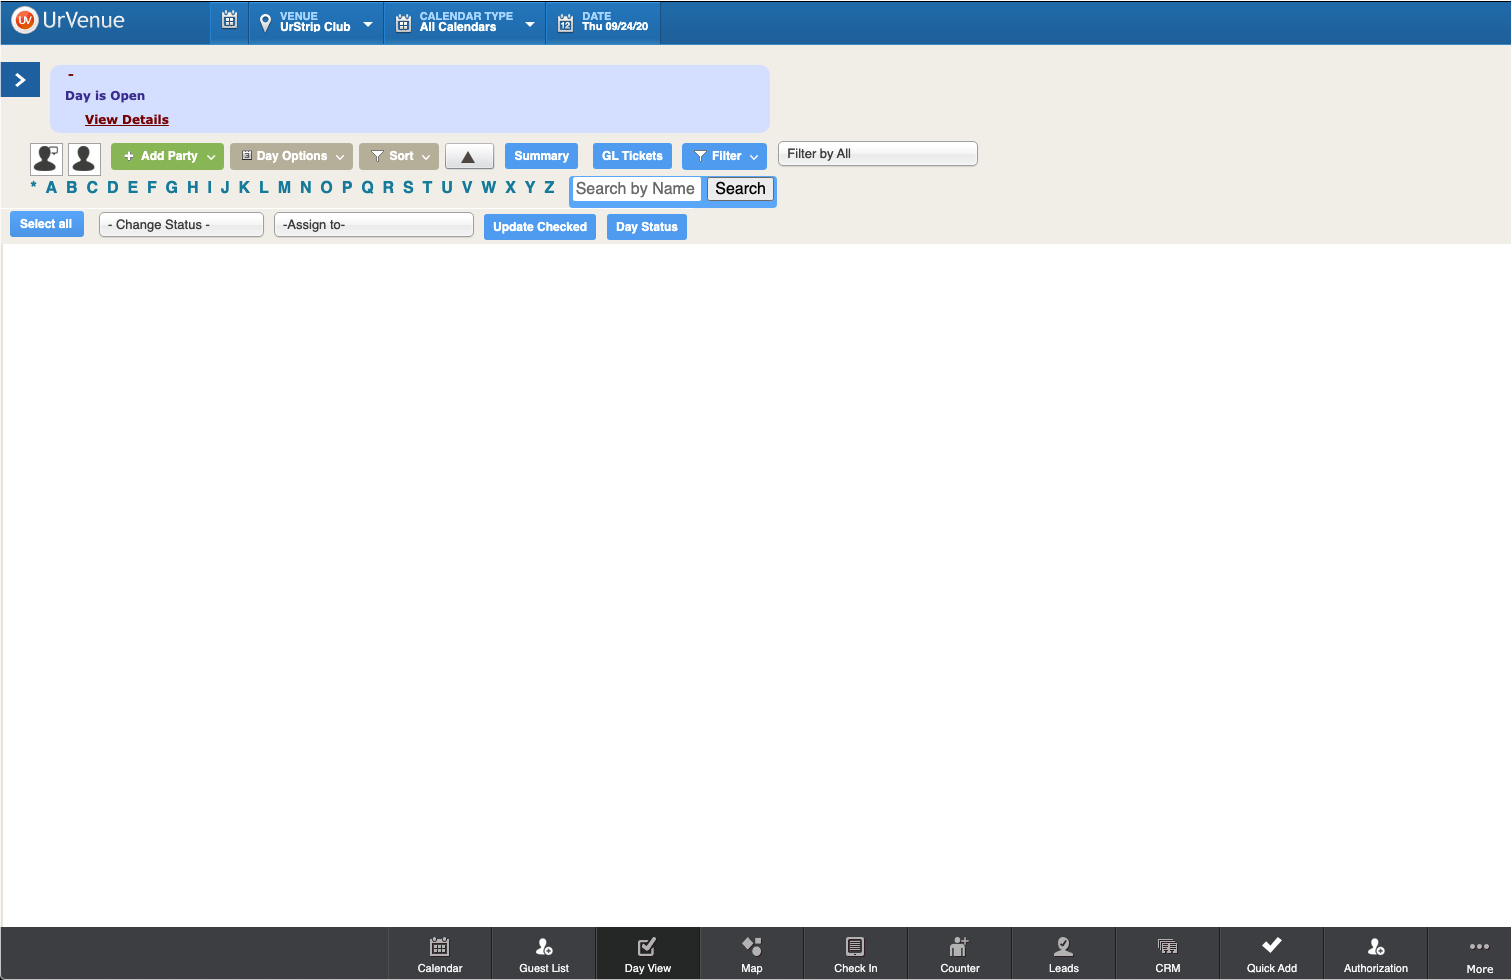
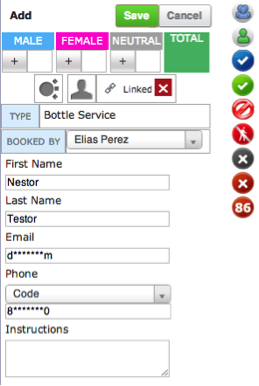
Click on the green button marked “Add Party”
- Add the number of male, females and neutral in the party. The total quantity of the reservation will be the sum of all three.

Choose a reservation type from the pulldown
- “Bottle service” if you want to make a Table Reservation
- “Guest List” if you want to put a client on the Guest List
Fill out the appropriate fields
- Book by:
- This will be set to your user
- If you want to select a different user, scroll down the list
- Scroll to find a promoters name if it is a promoters table
- If the person is a VIP, click on the checkbox to mark them as VIP.
- Lastly, put any information that you think the Venue Host might want or need about your client. It will make your clients experience that much better if they feel like they are VIP.
When entering the name, phone number or email, a list of customer who previously visited one of the Venues will appear. If there is a customer match, select the customer to link it to the reservation. Once you have linked a customer, a chain icon will appear to indicate the reservation has been linked to a Customer.
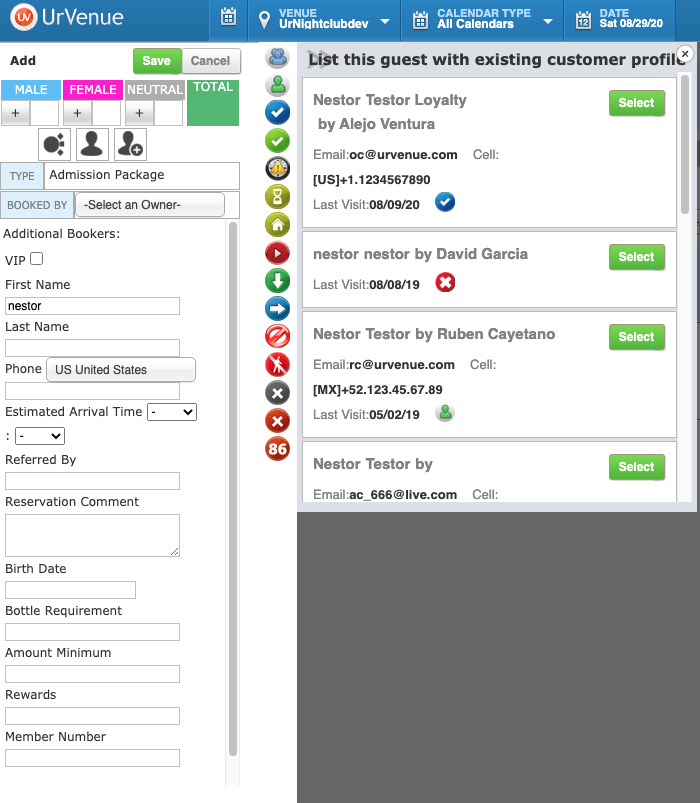
If you made a mistake, click the chain icon to unlink it
Click on the “Internal Request” or “Approved” icon and your reservation has been input into the system. Different icons may be available depending on your access.


If you have saved the reservation without linking to a customer, then a screen will appear to prompt you if there is more detailed information about your Guest, including the owner of the Customer (may be different than the Book By) also be sure to select the categories that match your Guest.
Press “Save” and your reservation has been added to the system.
Was this article helpful?