Chit Configuration
- 13 Jun 2022
- 2 Minutes to read
- Contributors

- Print
- DarkLight
- PDF
Chit Configuration
- Updated on 13 Jun 2022
- 2 Minutes to read
- Contributors
- Print
- DarkLight
- PDF
Article summary
Did you find this summary helpful?
Thank you for your feedback!
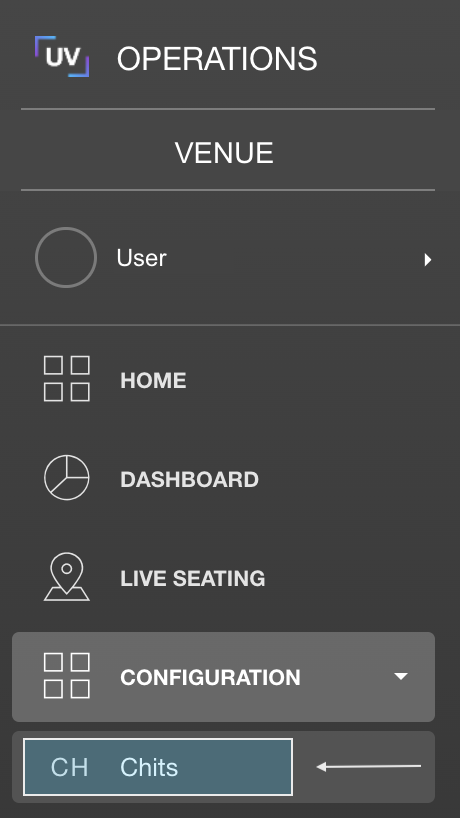
Chits are configured in UrVenue Operations environment, under Configuration on the left-hand side menu.
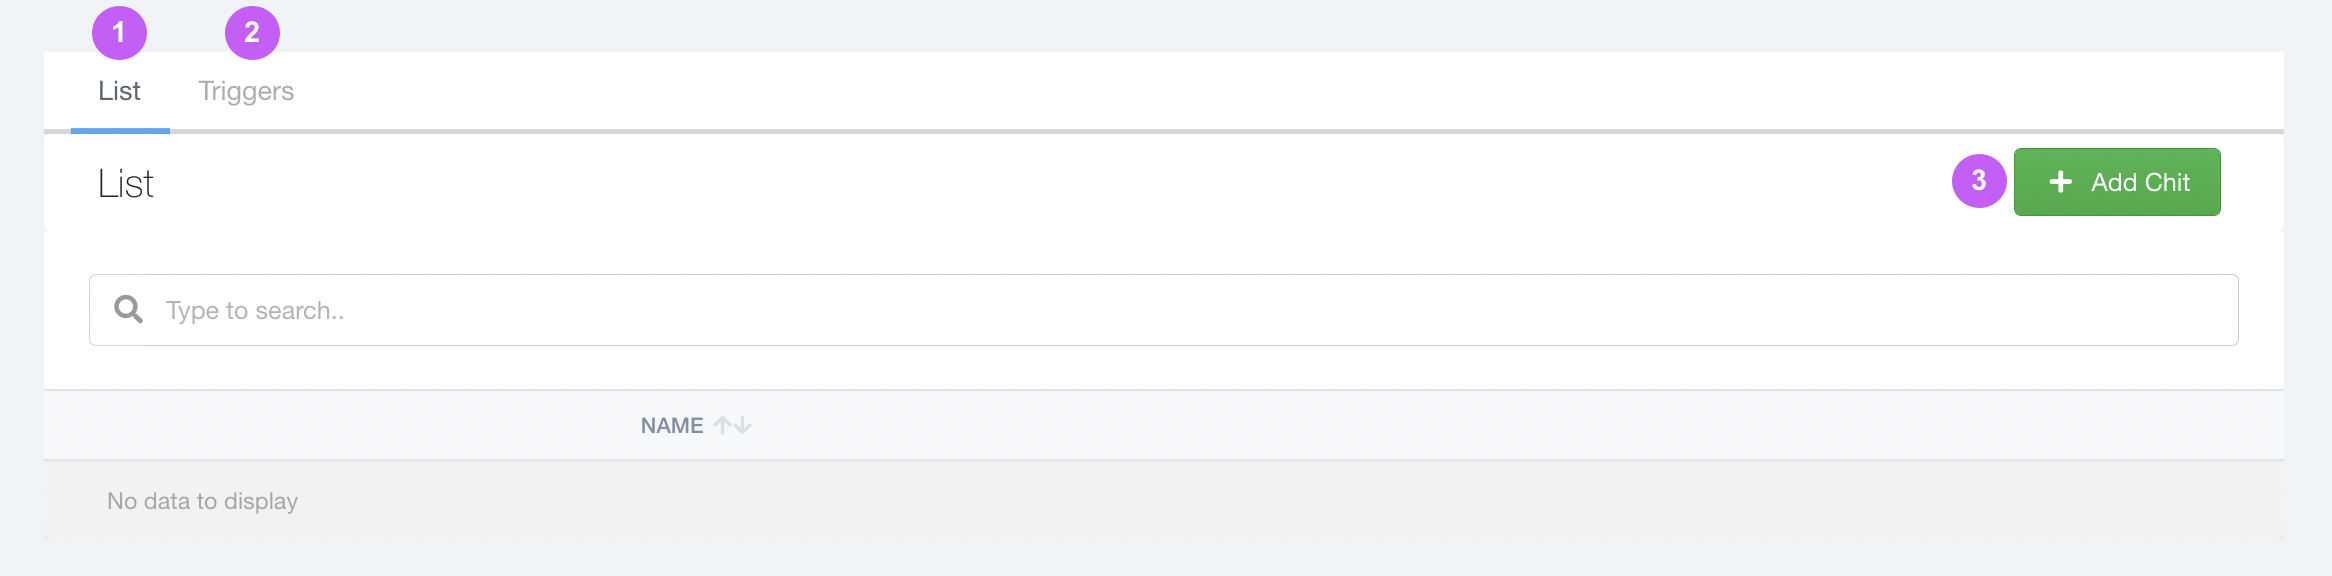
Once on Chits you will have two tabs:
- List
- Triggers
- Default view is List, from here we can configure all the gen cards by clicking on Add Chit which will produce the Chit Configurator popup window.
LIST
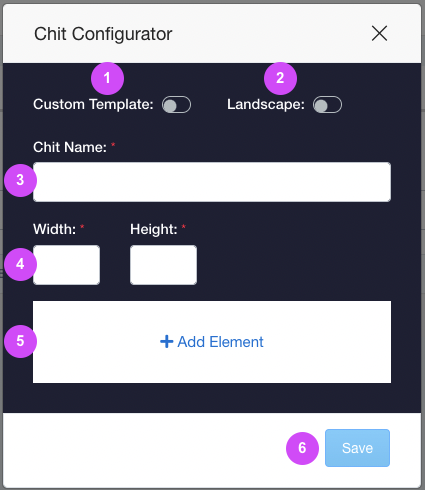
- Custom Template - Upload your own html code if you wish to style or arrange all chit elements in a different way than what the configurator tools allow.
- Landscape - This option changes the orientation of the printed chit. If you wish to use this orientation it's recommended to add a custom template so you can format it, the configurator orientation will not be affected by this toggle and all elements will still be added vertically.
- Chit Name - Enter a name to identify the gen card.
- Size - Width and height depend on the type of printer you are using, adjust these parameters to match the paper size so all elements are visible and well arranged upon printing
- Elements - These are all the system elements that can be added to your chit. You will find a list elements and the data they print at the end of this article.
- Save - Click to add the chit. This button will only be necessary the first time you configure a chit, keep in mind that if any changes are made after the chit is saved the first time, they will automatically be stored, even if you don't use this button after changing anything.
TRIGGERS
On the second tab you can configure and edit the Triggers need to set according to how you would like to print your gen cards.

Clicking on Add Trigger will produce the Trigger popup window.
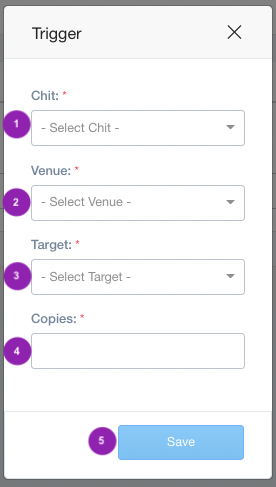
- Chit - Select one of the templates you added on the first tab.
- Venue - Select the venue for which you want to apply the template to.
- Target - Choose when you would like the chit to print from the options displayed: 1 - All prints on every target, 2 - Seating prints only from the map when you seat a table, 3 - Bookings prints from the list on the Day View, 4 - Guestlist prints when checking in guests on UrVenue Guestlist system.
- Copies - Enter how many copies you would like to print of the selected template.
- Save - Unlike the Save button for the Chit configuration, in order to keep the changes done to the triggers you must click this button.
ELEMENTS
Admission Agreement Base Agreement Birthday Booking Type CC Last 4 Comment Comp Content Custom Text Date Duration Ecozone Email Entry / Qty / Guest Entry type External Owner (s) Guest type Instructions Items Line Location (s) Logo Loyalty Minimum Spend Offers Order Paid Order Prepay Owner(s) Paid Party Code Party Name Party Size Phone Print date Print date & time Print time Processing Fee QR Qty / Guest Recon Code Redeemed id Referred by Rental Fee Scanned by Signature Subtotal Text & Line Total Total Agreement Trade Venue Name
Was this article helpful?