Managing CMS - UV Legacy
- 07 Jun 2022
- 1 Minute to read
- Contributors

- Print
- DarkLight
- PDF
Managing CMS - UV Legacy
- Updated on 07 Jun 2022
- 1 Minute to read
- Contributors
- Print
- DarkLight
- PDF
Article summary
Did you find this summary helpful?
Thank you for your feedback!
Managing CMS
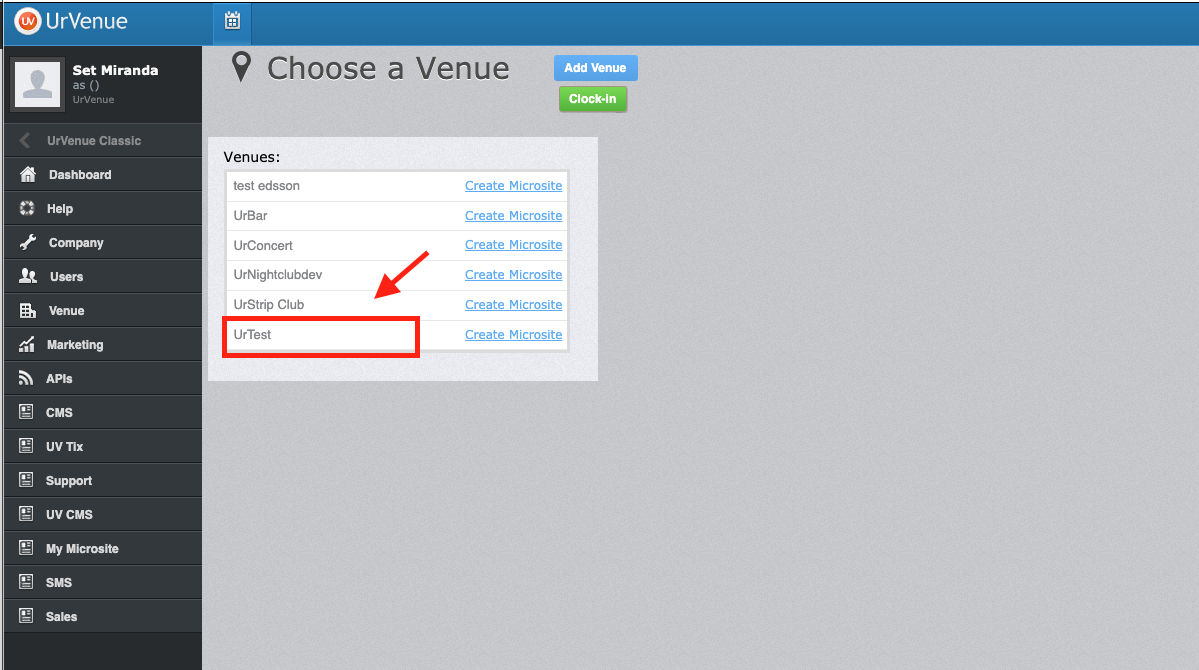
Select the Venue you will be working with.
Select “CMS” from the options on the left hand side.

Select your Website by clicking on “select”.

Here you will see your website pages (CMS page).
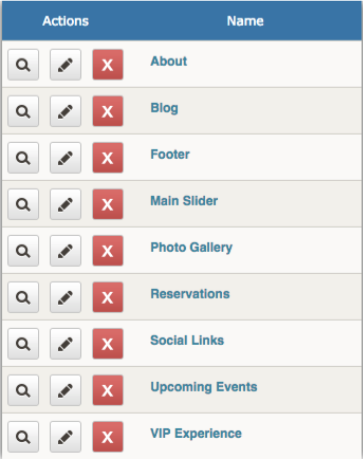
Select the CMS page you want to modify by clicking on the page name
Media pages divide each CMS page
Select the Media Page you want to modify.

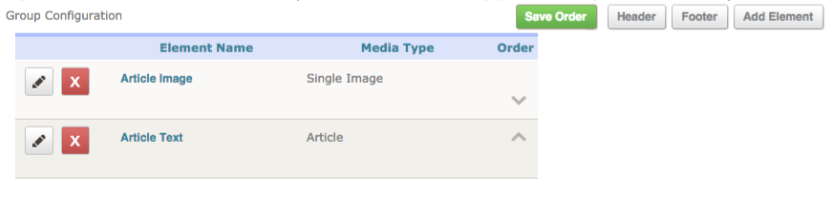
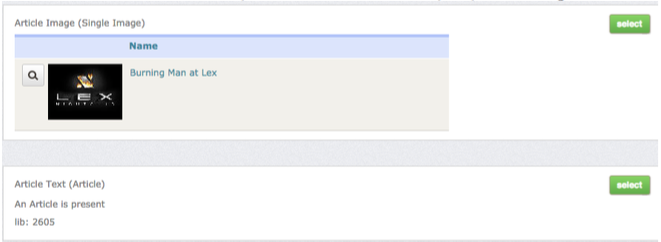
Here you will see two different groups, “Group Configuration” and “Media Groups”.
The Group Configuration is the structure of the blog, in this case “image” on top and “text” underneath (this is how it will appear on your website).
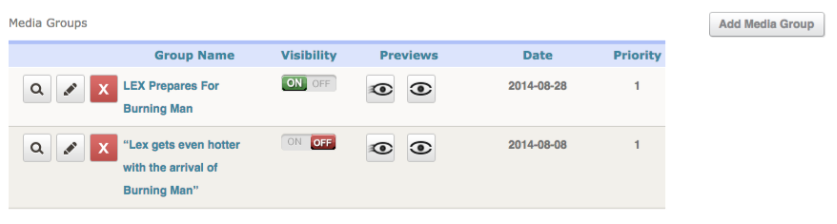
The Media Groups lists the different blogs that have been created. Each blog consists of “Name”, “Visibility”, “Preview” and “Date”
Click on the Blog name in order to modify the image or text.
Once you click on the Blog name you will have to option to modify the text or the image.
Choose the one you want to modify by clicking “select”.
Once you click “Select” next to the Image” you will see this.
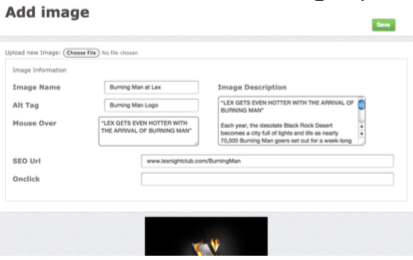
Click on “choose file” in order to upload a new image.
Click “Save” once you have selected the image you want to use.
Once you click “Select” next to the Article Text you will see this.
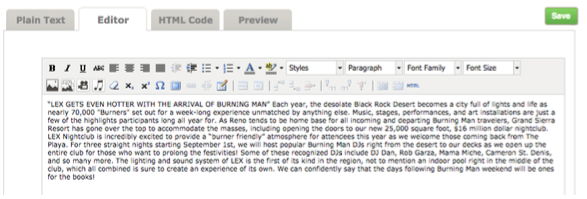
Click on the “Editor” Tab to write the article text. From here you can change text colors, organize text structure and even upload images within text.
Once you are done making changes click “save”.
Click on the Pencil icon to modify the blog name or Date. Once you do the text boxes will appear for you to make the modifications.
Once you’ve made the adjustments click on the “save” (floppy disk) button.

Click either “On or Off” in the visibility section to determine if the blog will be visible on your website.

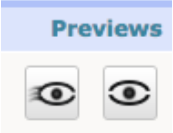
Click on the eyes under preview to get an idea of what the blog will look like once live.
Was this article helpful?