- Print
- DarkLight
- PDF
Create Profile
First you must create a Profile to login:
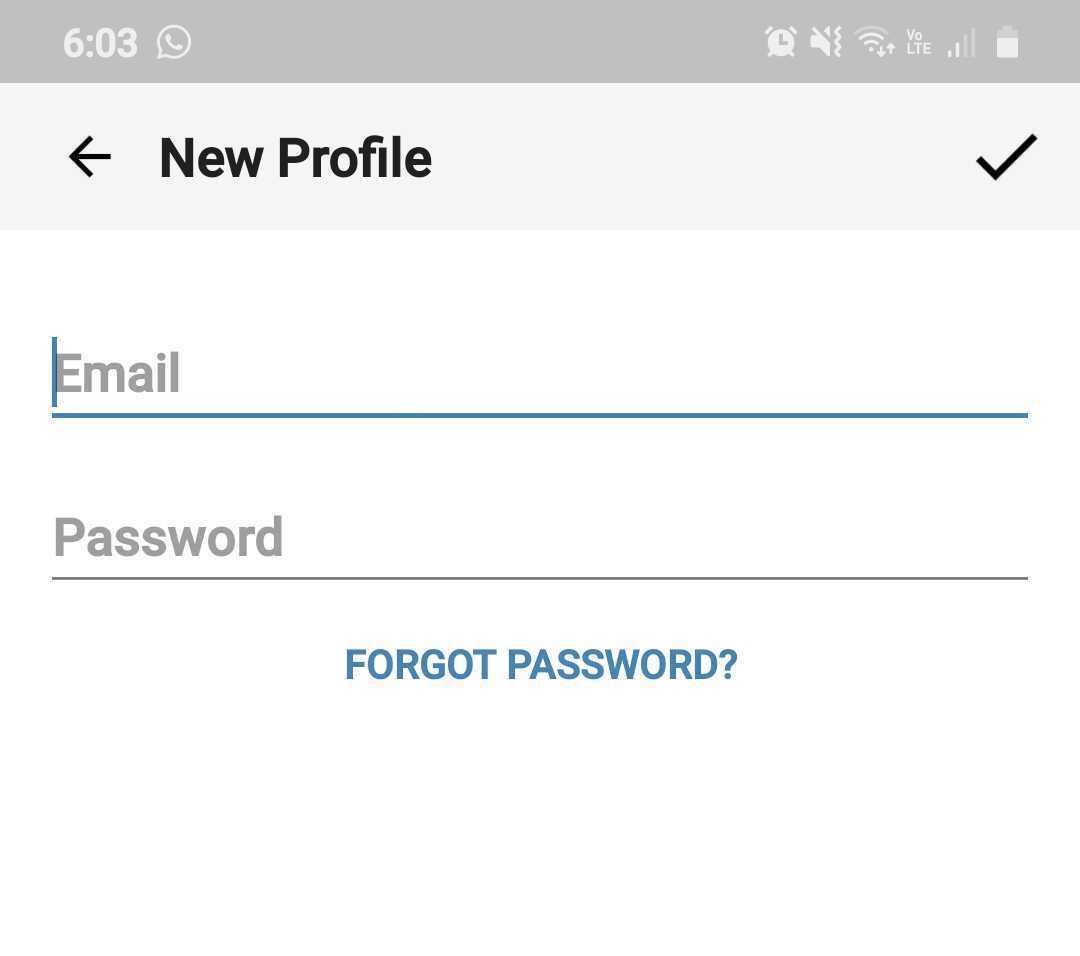
- Tap on “Add Profile”
- On Login URL, type: ursbe.com
- On user, type your Username.
- On Password, type your password.
- SSL should be OFF
Now your profile is ready to access to your UrVenue account.
Add a Reservation
Click on your profile.
Now, the “choose venue” screen will appear:
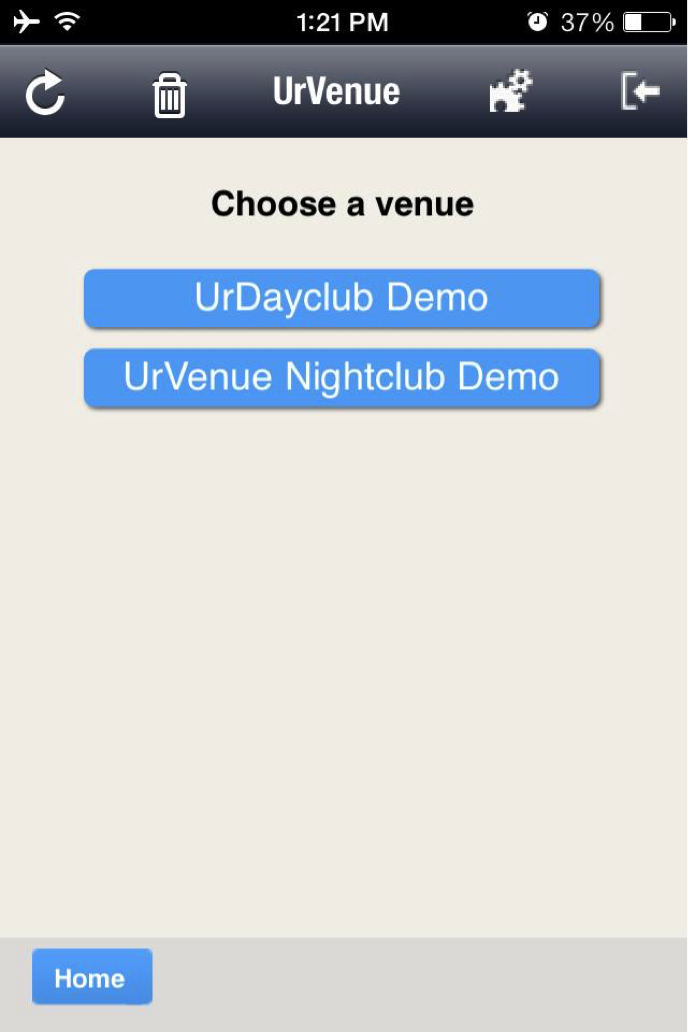
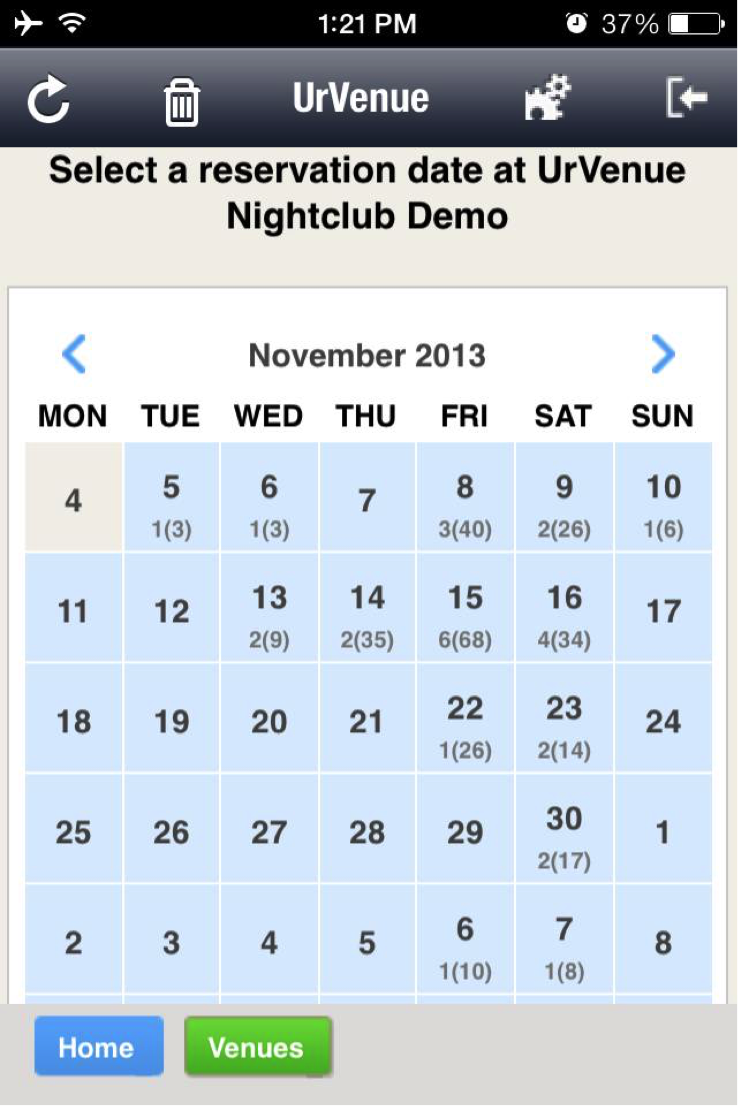
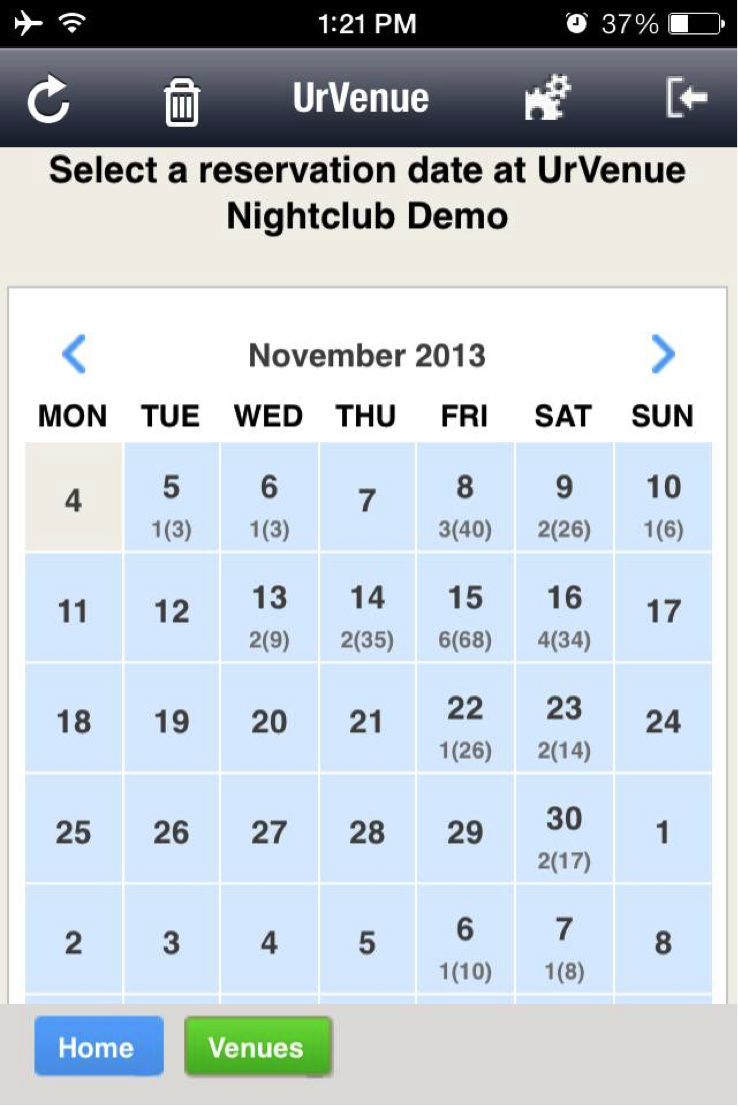
- Tap on the Venue Name to continue A calendar will appear. Tap on the date you wish to put the reservation.
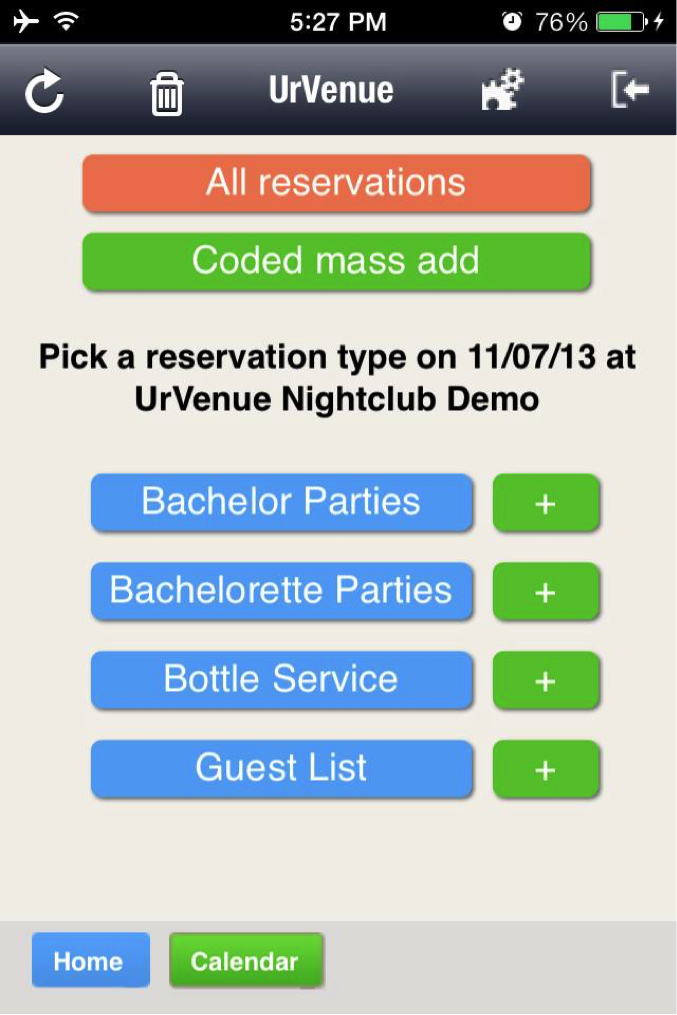
- Now, a list of Reservation Types will appear.
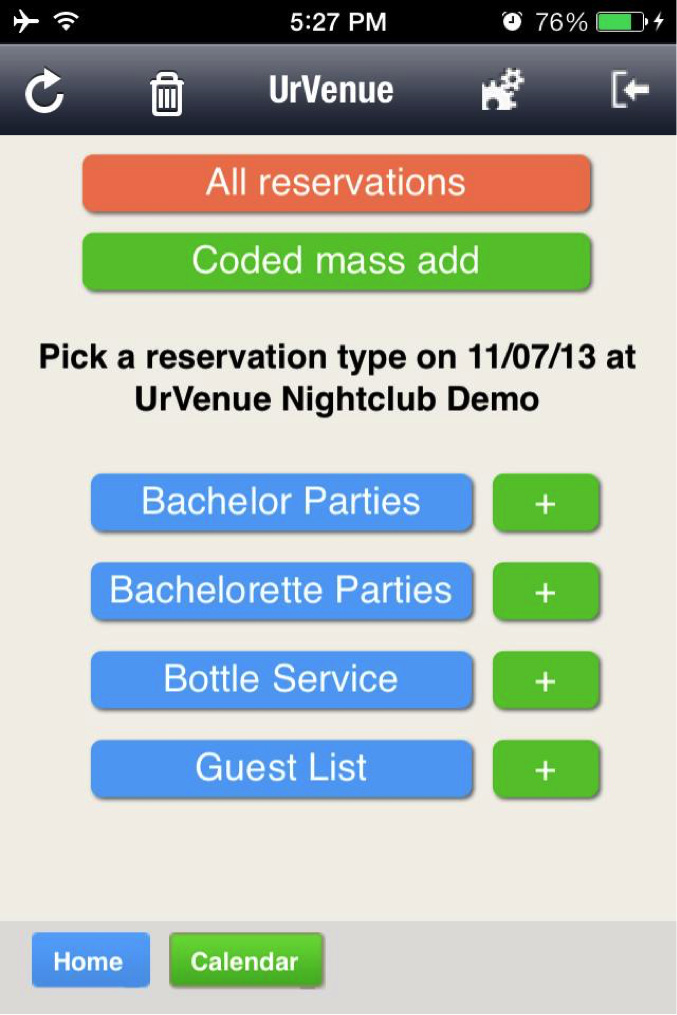
* The upper All Reservations button is used to see existing Reservations on that day.
* The green button is used to add many Reservations at once.
* The blue buttons are used to see Reservations by Reservation Type for that day.
* The + button  is used to add a Reservation under that Reservation Type
- The reservation form might look different for each Venue. Fill the form with Guest’s information.
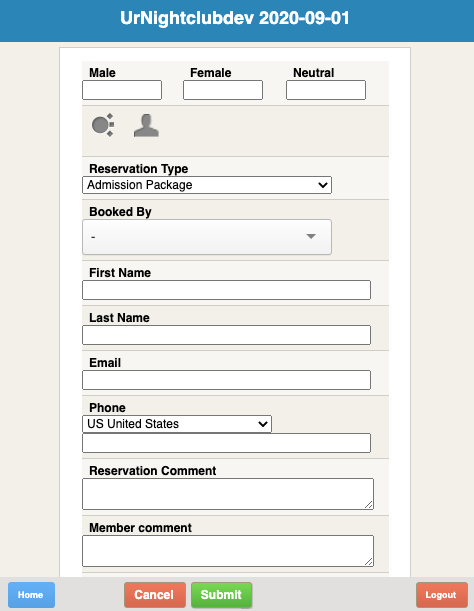
You can also assign tables for this Reservation.
Click on

You will see the Seating page:
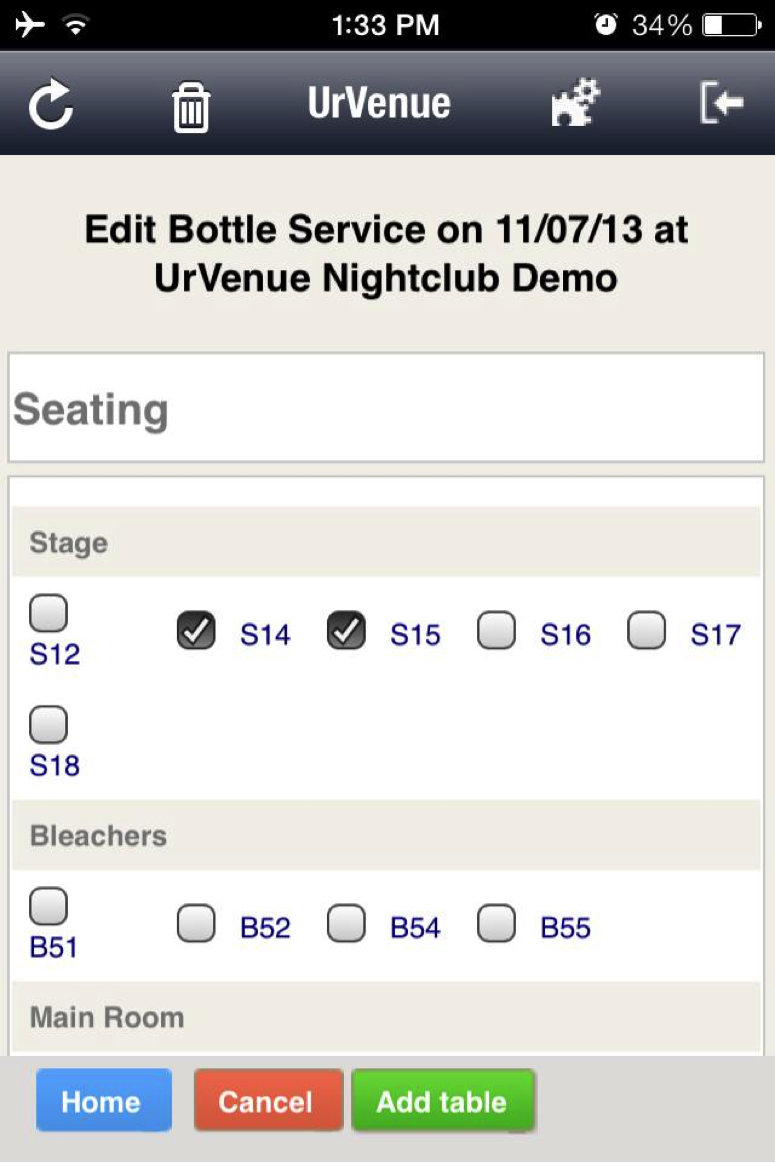
Tap on the checkbox next to the Table Name to assign it to this Reservation.
Click on Add table
 to go back to the reservation form.
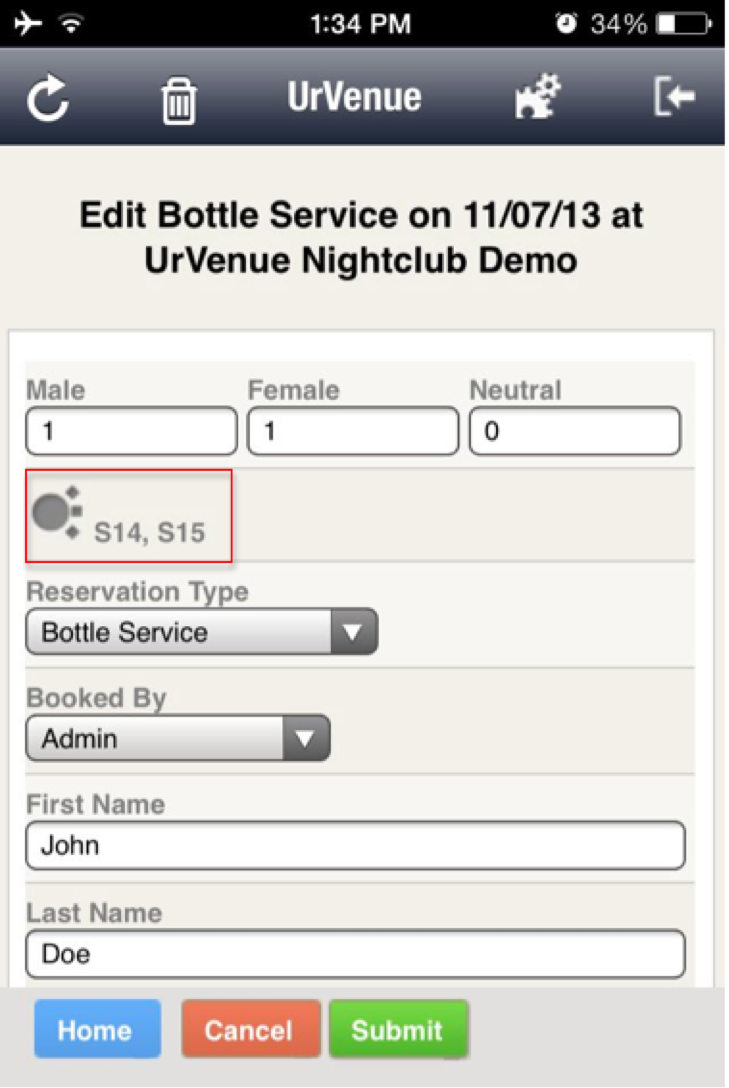
On the Reservation form, you will see the Tables assigned next to the button.
- If Guest’s information matches information that is already in the System, the App will ask you to select that Guest. If none of the customers that appear on the list match the information you typed, you can choose “New Customer”.
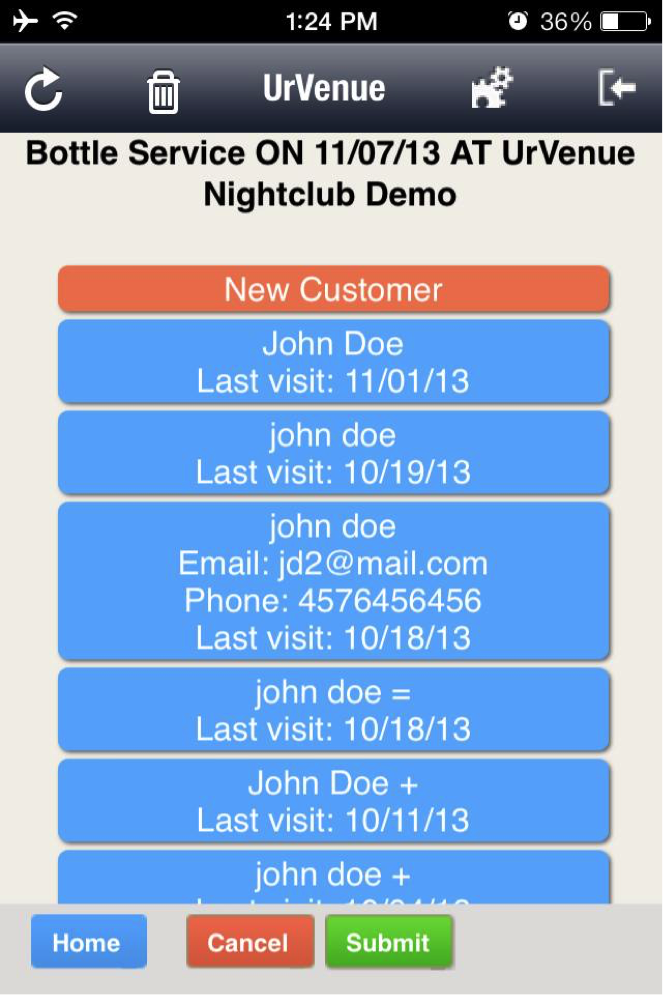
- Now, click on Submit button

Your Reservation has been added.
View Reservations
Click on your profile.
Now, the “choose venue” screen will appear:
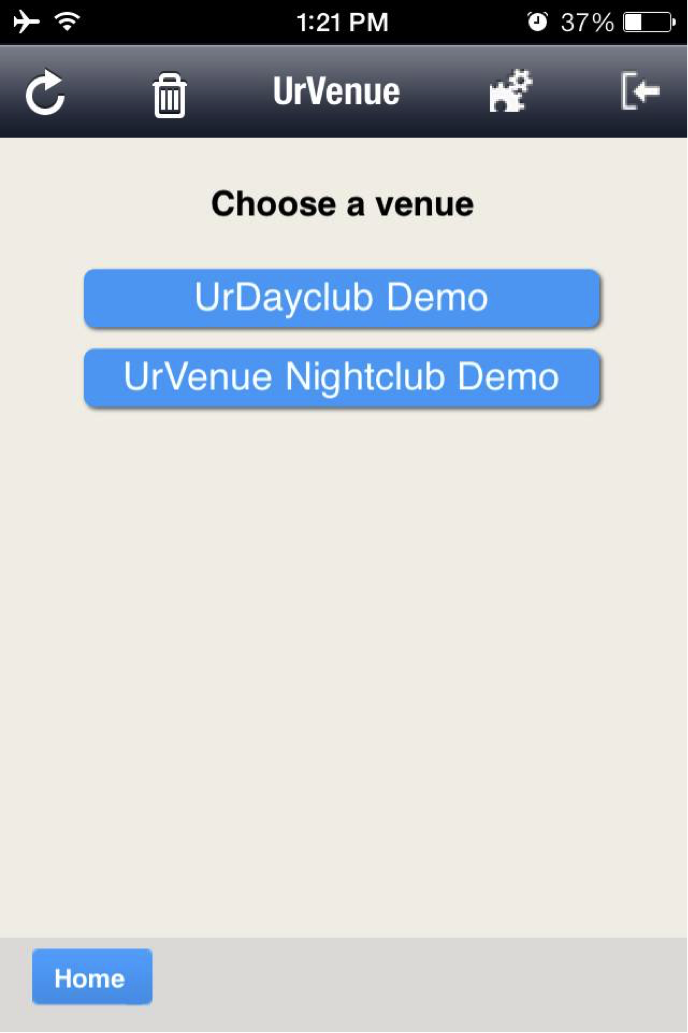
- Tap on the Venue Name to continue. A calendar will appear. Tap on the date you wish to see Reservation.
- Now tap on the Reservation Type you wish to see (blue buttons) or All Reservations (orange button).
Here you can:
- Filter by Reservation Type, Reservation Status or Booker tapping on the pulldown on top of the screen.
- Change a Reservation’s Status tapping on the first icon on the left hand side (by default).

- Change the Information of a Reservation tapping on (second icon from the left)
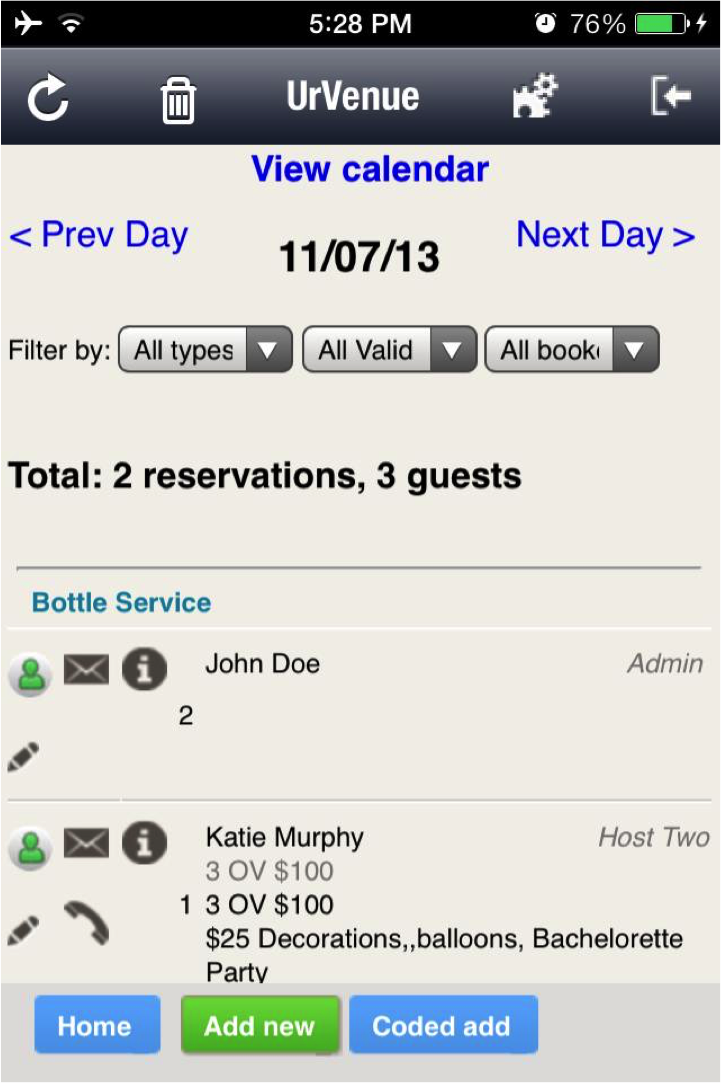
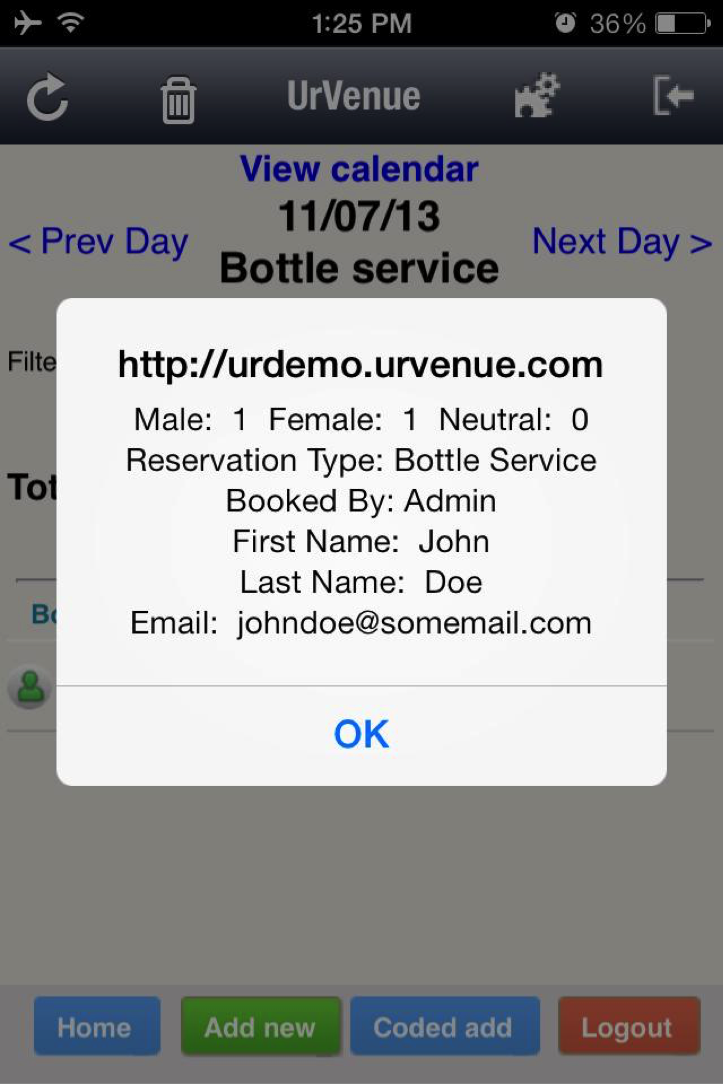
- You can also see a Reservation’s information tapping on info button:
