Scenario 10 - No Minimum - Reserve
- 28 Jul 2022
- 1 Minute to read
- Contributors

- Print
- DarkLight
- PDF
Scenario 10 - No Minimum - Reserve
- Updated on 28 Jul 2022
- 1 Minute to read
- Contributors
- Print
- DarkLight
- PDF
Article summary
Did you find this summary helpful?
Thank you for your feedback!
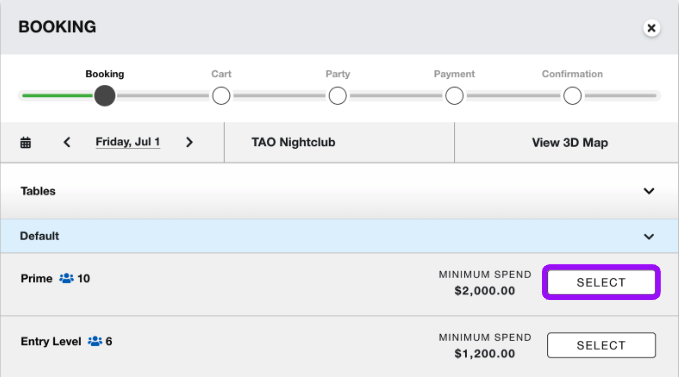
- In Day View for the specific event date, click the “+Booking” button

- A Popup window will now be displayed
- This defaults to the date you selected from the Day View. From here you can also change the Date by selecting the drop down or go to the 3D Map
- Choose the Select button next to the option you would like to reserve.
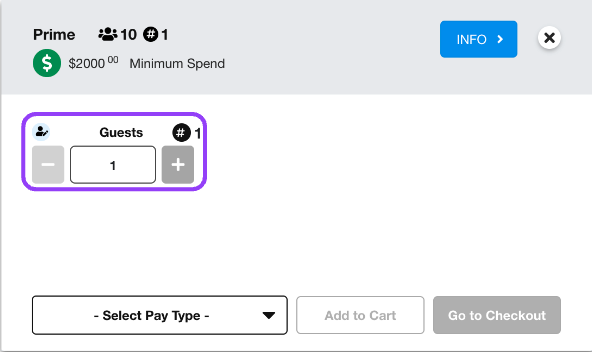
- Once you select the booking type you would like it will navigate you to a new popup window.
- You will now select the number of guests that will be associated with this party.
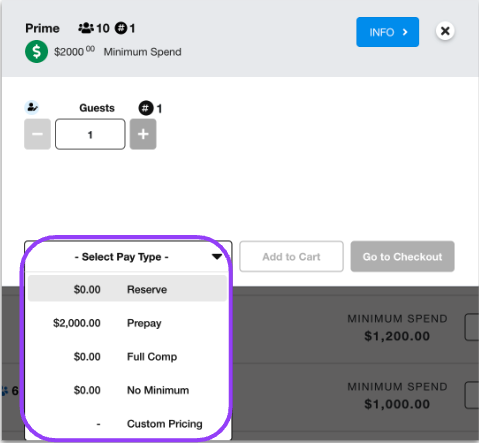
- You will now select the payment type chosen for this party. For this scenario we will use No Minimum.
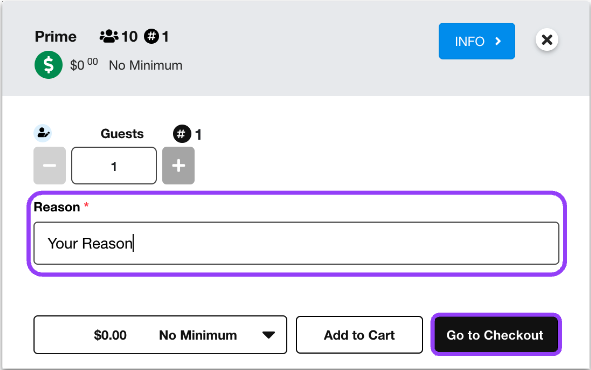
- After choosing your reason for placing the No Minimum.
- Select Go to Checkout
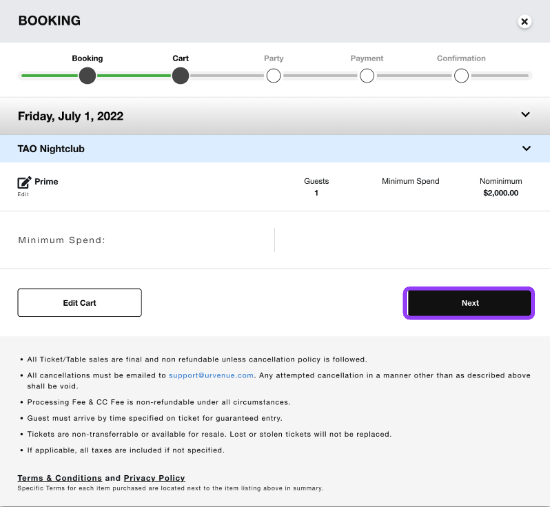
- Verify booking information, accept all Terms and Conditions and click Next.
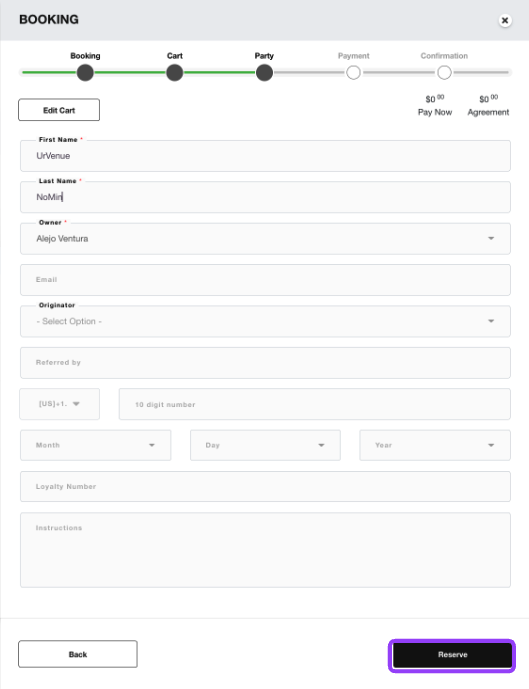
- Fill out party information completely and click Reserve.
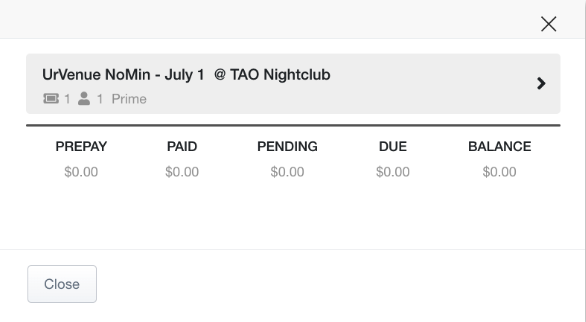
- The reservation is now complete.
- Click on the party name to view or edit party details.
- You can now click Close or X and go back to the Dayview.
Was this article helpful?