Scheduler
- 20 Feb 2023
- 2 Minutes to read
- Contributors

- Print
- DarkLight
- PDF
Scheduler
- Updated on 20 Feb 2023
- 2 Minutes to read
- Contributors
- Print
- DarkLight
- PDF
Article summary
Did you find this summary helpful?
Thank you for your feedback!
The reports section includes a scheduler feature that enables automated sending of reports at specific intervals, such as hourly, daily, or weekly. All reports are eligible for this functionality, and you can select the specific days and times for the report to be sent. Additionally, reports can be distributed to one or multiple recipients.
- Login to the Operations Ecosystem
- Choose your Venue (if you have multiple)
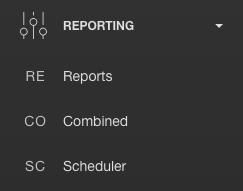
- Click on the Reporting section of the navigation bar, then click on Scheduler.
- This will bring you to the Scheduler screen where you will see all of your current scheduled reports.
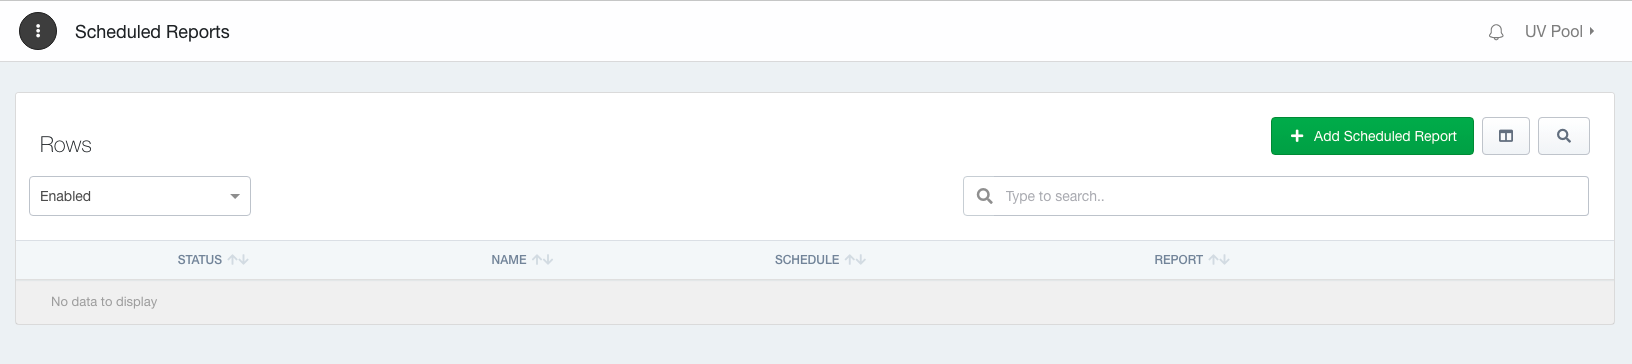
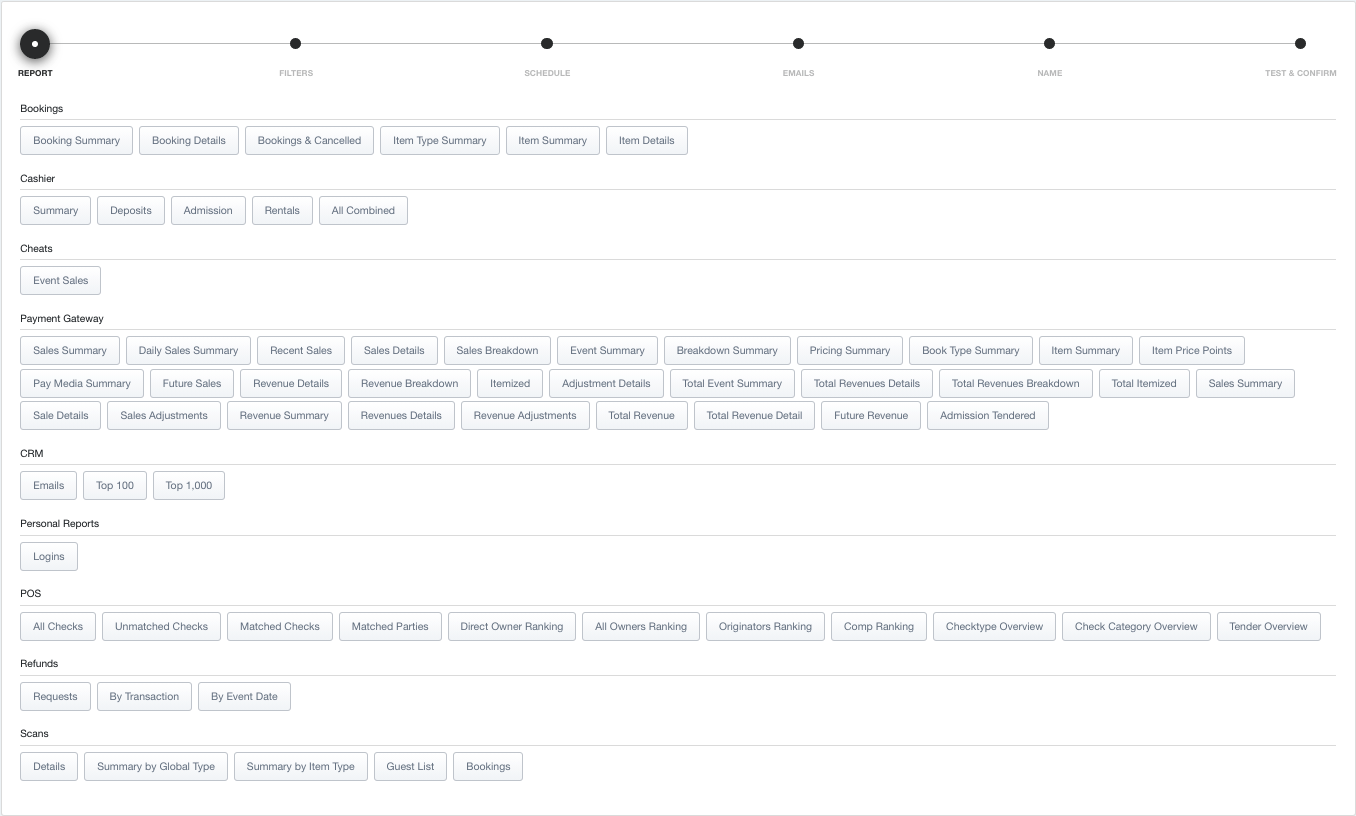
- Click on "+Add Scheduled Report"

- Choose which report you would like to schedule.
Note
These reports are broken down into categories exactly as you see when choosing a normal report
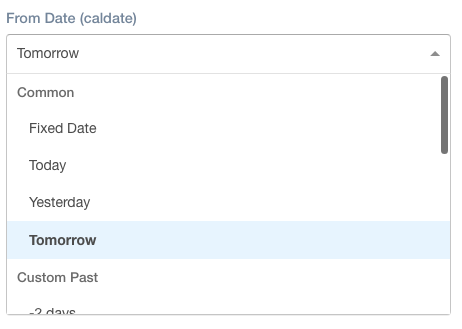
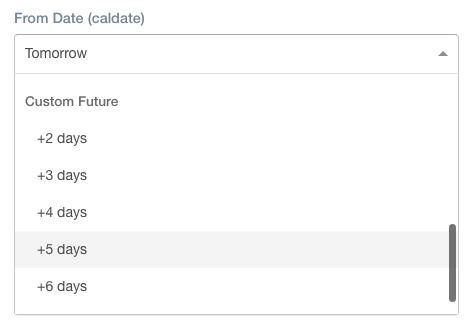
- After selecting the report (I have chosen Item Summary as an example), choose your calculation dates. Dates can be today, yesterday, tomorrow, a fixed date, or go up to 7 days in the past or up to 7 days in the future.
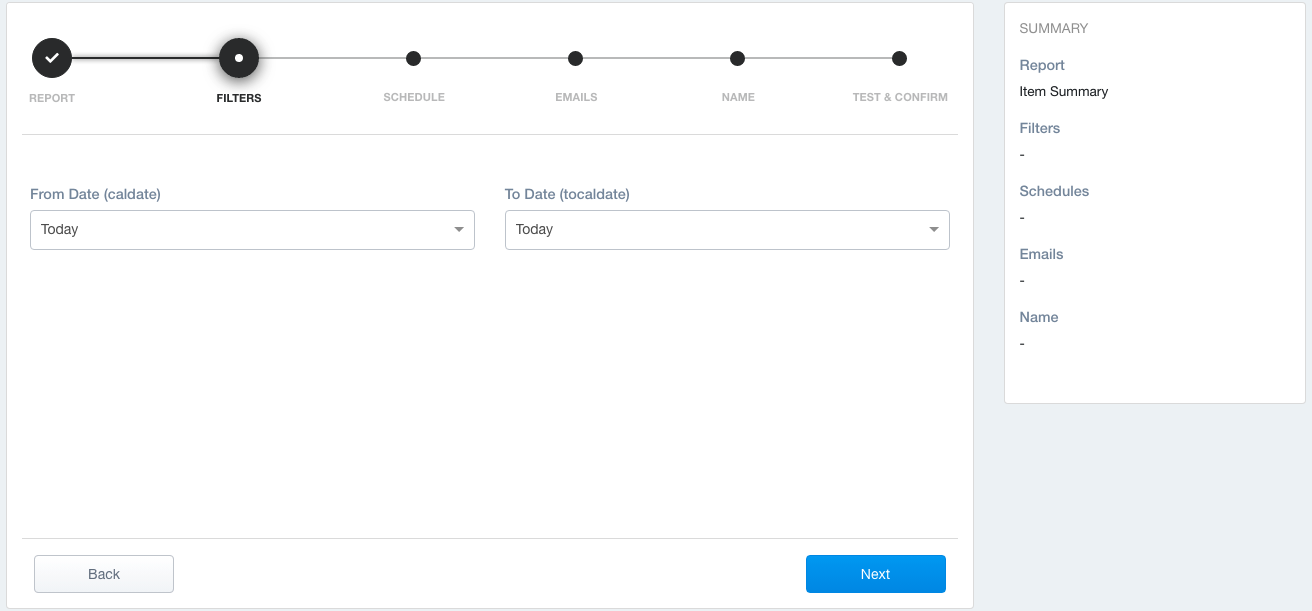
Dates
Depending on the report calculation dates can be transaction, calculation, or a combination of dates.
Click "Next" to continue.

You will now choose your timezone, days , and specific time you want this report sent. You can choose multiple days of the week if you would like.
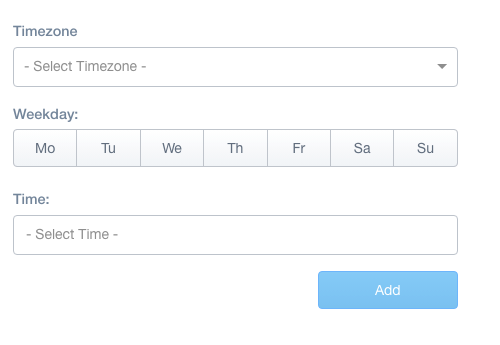
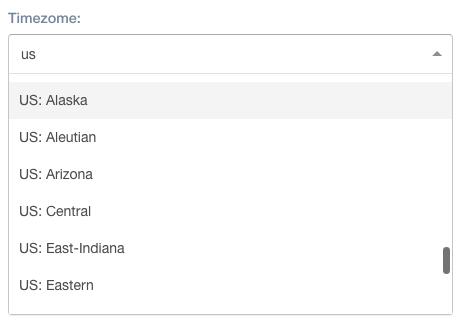
Timezone
For all US timezones, type US first.
- Click "Add", then "Next"


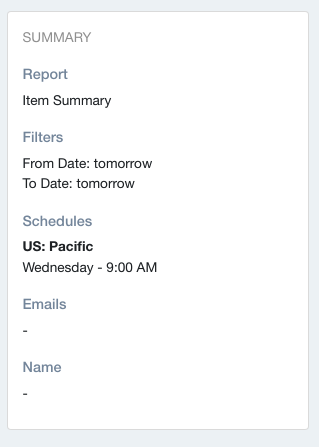
Summary
If you have not noticed, on the right side, there is a Summary that has been tracking your selections so you can see if you made any errors.
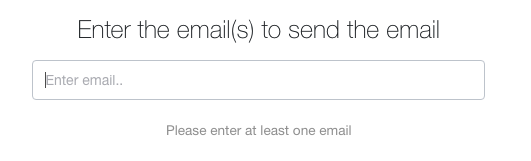
Enter the email of the receipient(s), click enter on keyboard and then click "Next". You can add multiple receipients for this report if you choose. You will see them listed after you click enter.

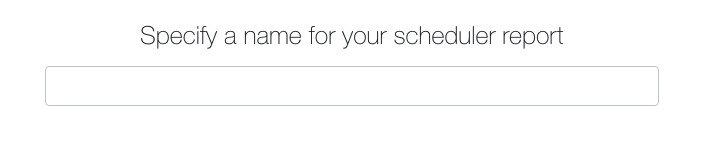
Name your report. Click "Next"
Enter an email to test your report and make sure you are getting the information you want. Click "Send Test".
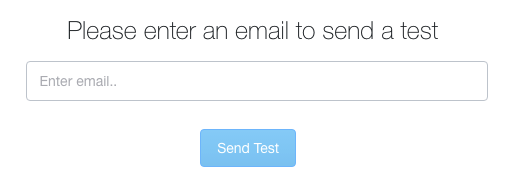
A popup will appear that says the report has been sent and for you to check your email to confirm.

Your final step is to either "Save as draft" or "Publish" the scheduled report you just created.


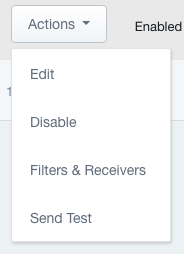
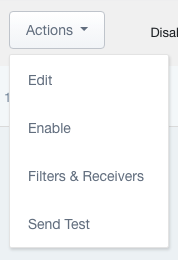
If you click "Publish", the report will now be on the dashboard for your scheduled reports. You can also now Edit, Disable, see your filters, or send another test email. You also can delete it by clicking the "Delete" button the right side.
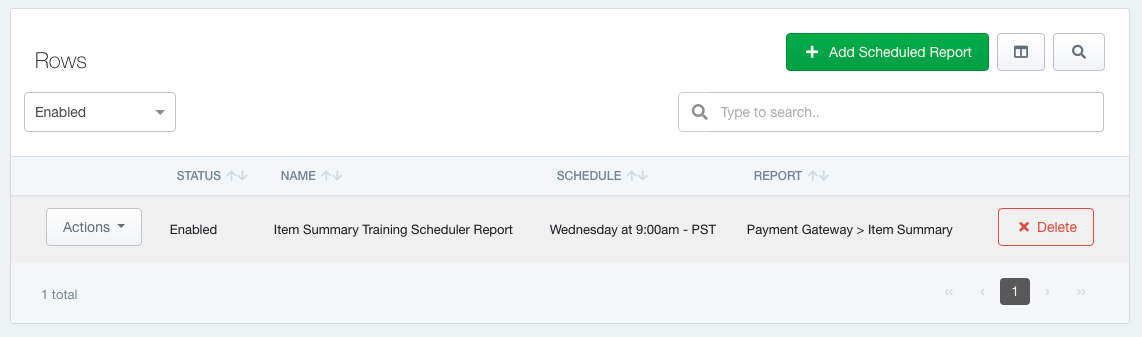
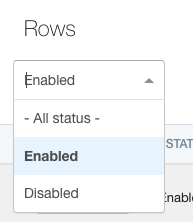
If you click "Save as draft", you will need to change your dashboard view to "disabled" on the top left below where it says Rows.
You will now see your draft of the report scheduled and can
Edit, Enable(publish), see your filters, or send another test email. You also can delete it by clicking the "Delete" button the right side.

Was this article helpful?